Heated bar plumbing - Direction of flow
Heated bar plumbing, direction of flow.
Thermostat to bottom of valve assembly. (temp sender port on thermostat toward engine)Valve assembly and (new) mounts are pre-assembled to fit individual bikes, some adjustment during install to clock everything and fit into place will be required.
Top of valve to right side of bars, throttle side. (may not matter, but throttle tube might not transfer as much heat, so we run to that side first) Bar return to lower rad hose.
Connections can be made in any order, some are better connected and tightened before installing on bike for better access. Thermostat and or lower bypass depending on bike. Bar connections are usually done last.
Zip tie everything into place to keep from rubbing, avoid any metal to metal contact.
There is no need to "bleed" the system. The passages are small, and air is pushed out easily when engine is revved up a little. Sometimes on a new build, cracking one of the bar hose connections will speed up the "bleeding" of air out of bars to get the flow going, but it is not normally necessary.
Top off coolant after checking for leaks and run it. Coolant will expand and spit a little out onto header, normal level is just above fins in radiator. If you top it off to the neck it will just spit it back out.
Do not use any sealant on the tapered 37 degree AN fittings/hose connections.
Pipe threads on thermostat and bypass fitting need liquid Teflon sealant (preferred) or tape.
When tightening the last connection on any hose, pre-load or turn hose so that when it is tightened the final 1/8 turn the hose is not twisted. Use this technique to clock the bar valve and fittings into position. When everything is tightened down there should be no stress on any fitting. Valve, bypass, and thermostat connections are free to move and in place. Hoses will not twist into place, they must be clocked by turning into the nut, and tightened the last 1/8 turn. Takes a couple tries to get everything aligned.
Online instructions are geared towards Engine Armor install with secondary bypass. Secondary bypass is there so that bars can be shut off completely in warm weather, and still retain heat exchanger function. Secondary bypass also adds an adjustment, to vary the amount of flow going to bars/heat exchanger.
The bypass circuit used for all this plumbing is there to allow flow through the engine when cold, thermostat closed. There is a small bleed hole in the thermostat so the water pump will not "deadhead", but care can be taken when starting a cold or cool bike below 160 degrees or so. Warm it up, leave the bar valve cracked so there is plenty of flow through the bypass and engine when cold. This allows the engine to warm up evenly and slowly.
We have not seen any issues with "deadheading" the pump, or rapid warming/cooling of the engine due to bypass (bar valve) in the closed position when starting a cold engine (there is the bleed hole in thermostat) but some snowbikers will warn you about running with bar valve closed. Keeping it cracked or making sure it is open when starting a cold bike is good operating procedure. Warms the bars up fast and first on those cold days also.
BE SURE THE BYPASS VALVE IS IN THE CLOSED POSITION & THE BAR VALVE IS OPEN to get heat to the bars.
Bar valve is completely closed past 45degrees, small adjustments to slow the flow, and turn down heat to bars.
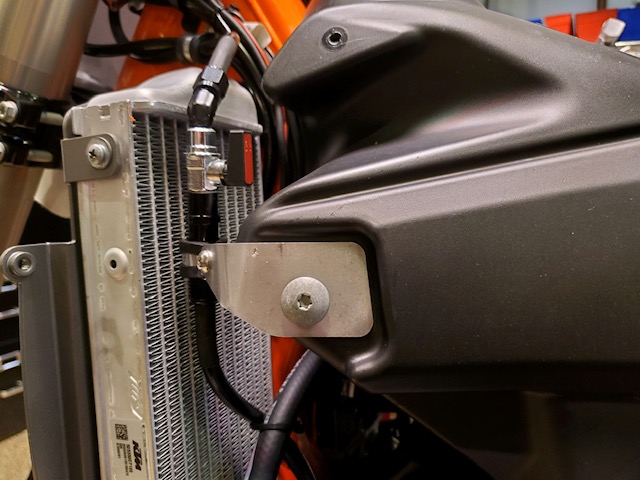
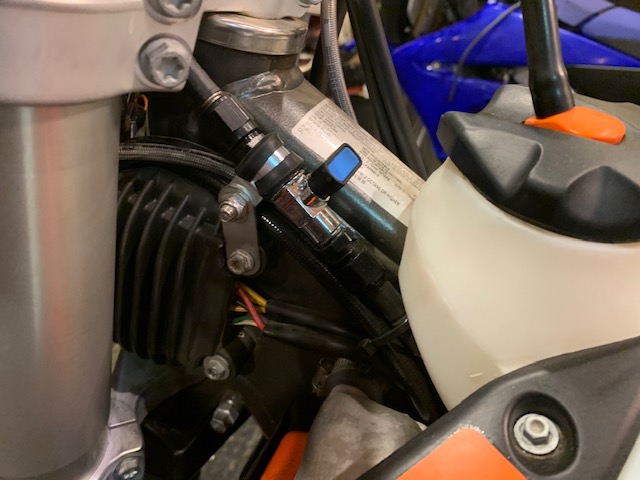
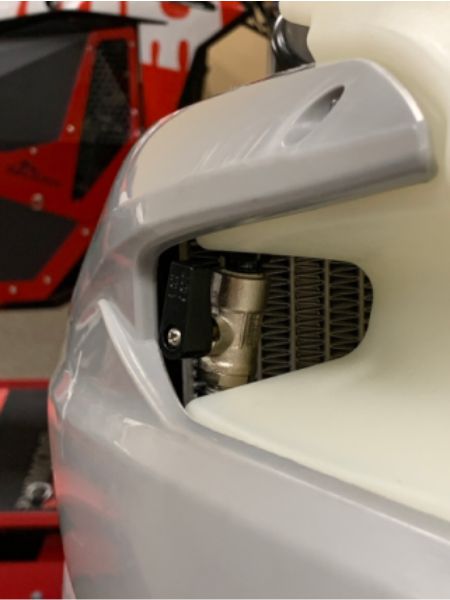
Valve Bracket
Mount the bracket on the side of the tank under the big head screw.


Pictures above are KTM. Husky is similar but has a different bracket


